Post
Building a GitHub Coding Bot with botdo and Apitomy Axiom
How to create a GitHub coding bot using botdo and Apitomy Axiom.
One of the problems I had with automating things with coding agents was that they typically presented themselves as if they were me.
And while I am still undeniably responsible for the code, it annoyed me because it made reviews harder, mixed up AI-generated code with my own code, and made the interactions with the community more difficult.
So I wanted to build a bot that was still associated with me but clearly distinguished itself as a bot.
What we are going to build
We are going to create a coding bot using an application called Apitomy Axiom, Claude Code, and a handy application I wrote to simplify running GitHub commands as a bot. This application is called BotDo.
How the pieces fit together
Claude Code is what provides us with the intelligence for the bot. It is what runs and executes the tasks that we assign to it: analyze issues, implement code, and review things.
Apitomy Axiom is the orchestration engine. It is the part that consumes GitHub events, works with Claude Code to identify the actions to be taken, and directs their execution.
The BotDo program is simply a wrapper that negotiates tokens with the GitHub API so that GitHub CLI commands can be executed by the bot.
Prerequisites
- Claude Code (it is also possible to use OpenCode; however, I have not tried that option)
- Apitomy Axiom
- BotDo
- A GitHub organization to host your bot
- A server or virtual machine that can run 24/7 and host everything
- (Optional) AI Agents OSS Helper to provide additional guidelines for the coding bot
Setting up the GitHub bot
The BotDo README has the details for creating the GitHub App, which I have copied below:
1. Create a GitHub App
Go to Settings → Developer settings → GitHub Apps → New GitHub App (for an organization: https://github.com/organizations/<ORG>/settings/apps).
Give it a name and a homepage URL (any valid URL works).
Uncheck Webhook → Active (this wrapper does not use webhooks).
Grant the Repository permissions the bot needs. Common ones include:
- Pull requests: Read & write (comment on, create, or edit PRs)
- Contents: Read & write (push branches and read files)
- Issues: Read & write (comment on or manage issues)
- Metadata: Read-only (required and granted automatically)
Grant only what you actually need.
Click Create GitHub App.
Note the App ID shown on the App's page.
2. Generate a private key
On the App's page, scroll to Private keys → Generate a private key. This downloads a .pem file. Store it somewhere safe and lock it down:
$ mv ~/Downloads/my-app.*.private-key.pem ~/my-app.private-key.pem
$ chmod 600 ~/my-app.private-key.pem
3. Install the App on your repositories
On the App's page, go to Install App, pick the account or organization, and choose the repositories the bot may act on. The token this wrapper mints can only touch repositories where the App is installed.
Setting up botdo
Download BotDo from the GitHub releases page or build it from source. Then make sure it is on the PATH (i.e., install it to /usr/local/bin or a similar directory on your system).
Create a file named .botdo.env and save it to your home directory (i.e., $HOME/.botdo.env).
Then, in that file, set up the GitHub App ID and the path to the private key that you downloaded from GitHub. The content should be similar to the example below.
GITHUB_APP_ID=123456
GITHUB_PRIVATE_KEY_FILE=/home/opiske/my-app.private-key.pem
Then, let's try it by adding a comment to any issue of your choice:
$ botdo gh issue comment 123 --body "BotDo Test" -R my-org/my-repo
If you can see that the comment was made by your bot, then it worked.
Configuring Apitomy Axiom
Download Apitomy Axiom from the project releases page. I am currently running version 2.1.2.
Running the project is relatively simple. You can just launch it with the following command:
java -jar apitomy-axiom-2.1.2.jar
The project is available on port 9191, so access that port on the host where you are running it (i.e., http://localhost:9191). As part of this blog post, I will provide you with a predefined configuration pack that is already set up to use BotDo. That configuration pack handles any event related to issues, PRs, discussions, etc., on your repositories that have the label coding-bot. Download it from here and import it on the Configuration Packs page.
The configuration pack provides you with a predefined set of templates and instructions that ensure that the bot will use the BotDo command to execute the tasks. They also leverage the AI Agents OSS Helper project to optimize them for open source work, but that is entirely optional, and you can adjust them in the Apitomy Axiom configuration. Other than these minor adjustments, the configuration pack is pretty much the vanilla configuration from the project.
The key concept behind it is that it has a manager that consumes events from GitHub, then works in coordination with a coding agent to make decisions about them. Decisions may trigger action types, invoke tools, etc. When you go to the Tools configuration page, you will be presented with a list of tools. Clicking on one lets you adjust its template, which looks more or less like this:

You can then adjust the action types to fine-tune the outcomes of the manager's decisions. On the Action Types page, you can select from a list of actions that the manager can trigger. In each of those actions, you can adjust the prompt used when the manager decides to trigger an implementation action. All the prompts have an instruction to use one of the skills from the AI Agents OSS Helper to optimize usage in open source projects.
The third item you can look at is the manager. The configuration provided in the configuration pack is, again, pretty much the vanilla configuration with the additional instruction to use the items labeled coding-bot.
One of the limitations I found along the way is that it is not possible to use the bot credentials for polling, so it still needs to rely on a GitHub personal access token (PAT) for that. This is what we configure on the Secrets page. If you do not have one, go to GitHub and generate one for yourself. Then set GH_TOKEN to the value of that access token.

With the secrets configuration completed, we can finally adjust the sources of events.

Here, we simply point to one of the GitHub repositories that we can use in the organization.
Trying the coding workflow
With that completed, we can try triggering an event. We can do that, for instance, by creating an issue that can be resolved by the coding bot. So, create an issue in your repository and label it coding-bot.
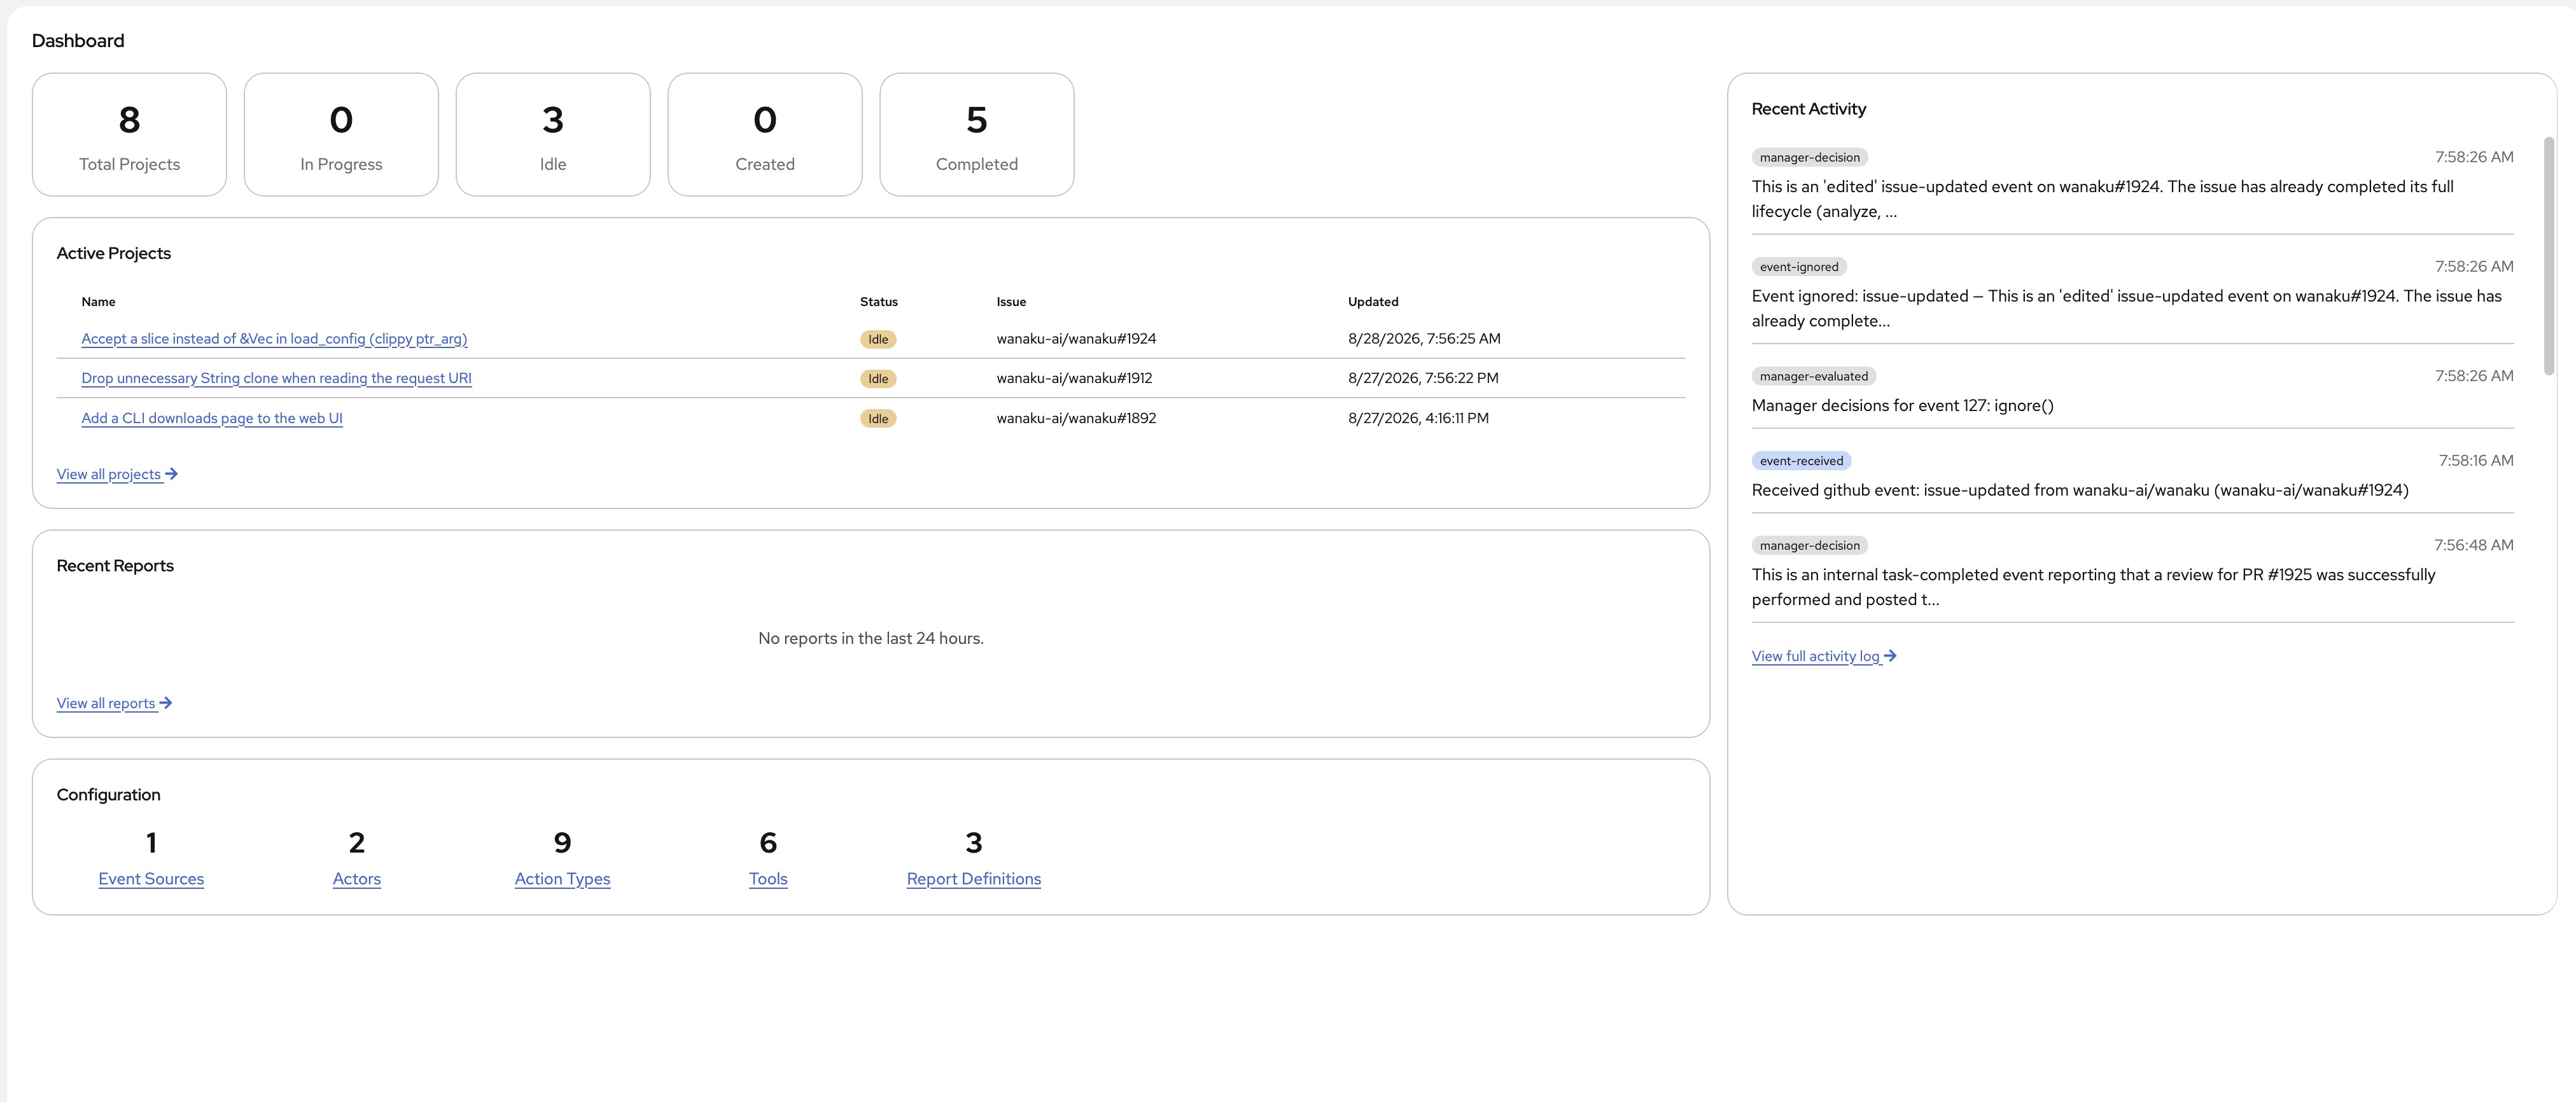
Wait about 30 seconds, and you should see events appearing on the Events page and in the logs. Alternatively, you may also see projects listed on the Projects page.
Security and operational considerations
When creating the bot, make sure you pay close attention to the permissions you give it. Also, ensure that the bot can only be installed in your own organization and, in general, follow GitHub's recommended practices. It is also important to make sure that the host where you are running this is secure and that no one else has access to the keys and credentials.
Final thoughts
Creating a bot involves quite a few steps. GitHub certainly does not make it easy to create one, but with these tools, you can automate the process and simplify things on your end. Apitomy Axiom is particularly helpful as the bot engine because it automates a lot of the work that is hard to do with workflows, for instance.