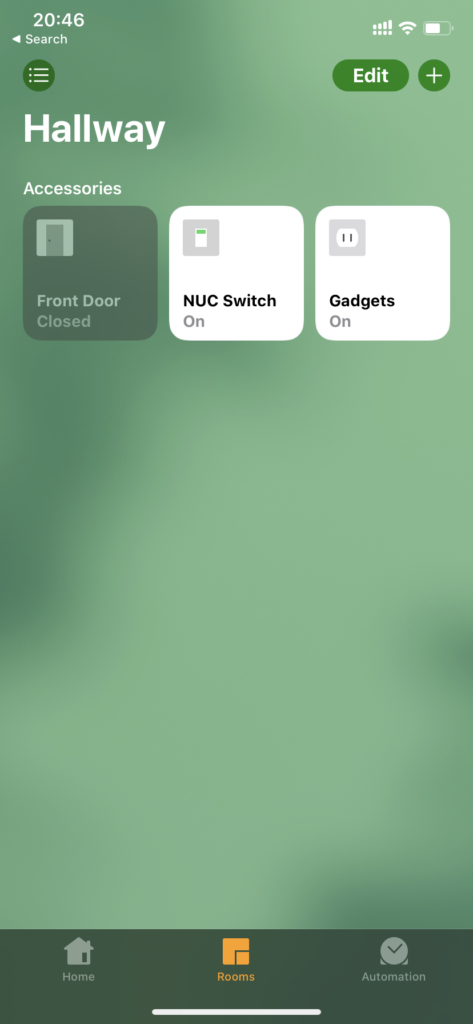
This tutorial will show how to integrate a regular computer to a Apple’s HomeKit and use your iOS or iPadOS device to turn it on or off.

Here’s a couple of videos showing how it should behave:
This tutorial requires a iOS or iPadOS device, with the Home application, a Raspberry Pi and a computer with Wake on LAN support.
A MQTT broker along with Homekit2MQQ will be installed to provide support for the tooling.
Install Mosquito
sudo apt-get -y install mosquitto
Setup Mosquitto
To do that edit the file /etc/mosquitto/mosquitto.conf
The contents of the file should be:
pid_file /var/run/mosquitto.pid
persistence true
 persistence_location /var/lib/mosquitto/log_dest file /var/log/mosquitto/mosquitto.log
 allow_anonymous true
 listener 1883 0.0.0.0
 log_dest syslog
 log_dest stdout
 log_dest topic
 log_type error
 log_type warning
 log_type notice
 log_type information
 connection_messages true
 log_timestamp true
With the MQTT broker configured, enable it to start on boot.
sudo systemctl enable --now mosquitto
Setup the Homekit2Mqtt Bridge
The Homekit2Mqtt software provides a software bridge to the HomeKit via a MQTT broker.
This package requires NodeJs to be installed and configured.
Install Node 10x
The NodeJS packages on the default repositories for the Raspberry Pi contain a version to old to run Homekit2Mqtt. To install a NodeJS version that can be used to run it, execute the following commands:
curl -sL https://deb.nodesource.com/setup_10.x | sudo bash -
sudo apt-get install -y nodejs gcc g++ make
sudo mkdir -p /opt/npm
sudo npm config set prefix=/opt/npm
sudo npm install -g homekit2mqtt --unsafe --perm
This may take a while. After the NodeJS installation is finished, you must reate a directory on the home directory to store the Homekit2Mqtt configuration.
mkdir -p $HOME/homekit-bridge/data
Create a SystemD unit file
The package does not come with a SystemD unit file and cannot be managed by SystemD out of the box. This makes it harder to ensure it can be started on boot or reinitialized on failure. To do so, we have to create a SystemD unit file.
First, we will use nano to edit the SystemD unit file. The file will be created in such a way that can be associated with user to run the service:
sudo nano -w /usr/lib/systemd/system/homekit-bridge@.service
The file have the following content:
[Unit]
 Description=Smart PC Control - HomeKit Bridge
 After=syslog.target network.target artemis.service

[Unit]
 Description=Smart PC Control - HomeKit Bridge
 After=syslog.target network.target artemis.service

[Service]
 User=%i
 Type=simple
 ExecStart=/usr/bin/nice -n20 /opt/npm/bin/homekit2mqtt --url mqtt://localhost:1883 --storagedir /home/%i//homekit-bridge/data/storage --mapfile /home/%i/homekit-bridge/data/my-home.json
 PrivateTmp=false
 Restart=on-failure

[Install]
 WantedBy=multi-user.target
Create an empty map file before starting the service (make sure to use the correct user for that – you don’t want to create this file with the root user):
echo "{}" > /home/pi/homekit-bridge/data/my-home.json
With the unit file created, we can go ahead and enable it. The service will be enabled to run with the user pi (the default user created by Raspbian) .
sudo systemctl enable --now homekit-bridge@$USER.service
You can check if it is working by accessing the web UI at the address http://my-raspberry-pi:51888/ui/. The default user is homekit password and the password is the PIN 031-45-154 (if you haven’t changed it – you should). If everything is alright, you should see the Web UI for the Homekit2Mqtt.
Add The Bridge to the Home App
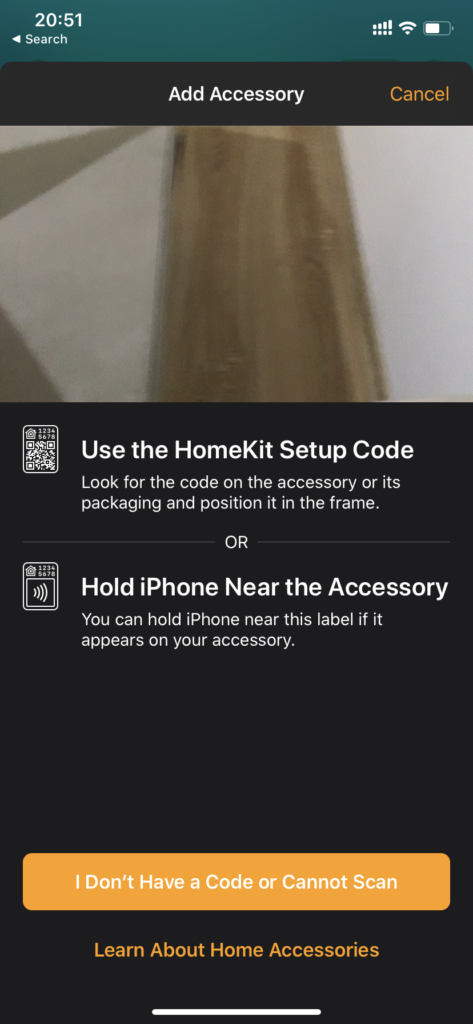
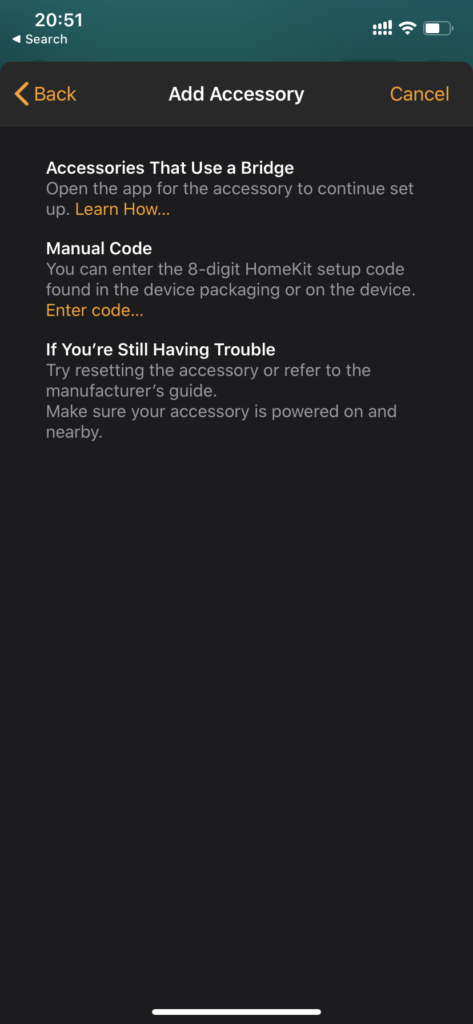
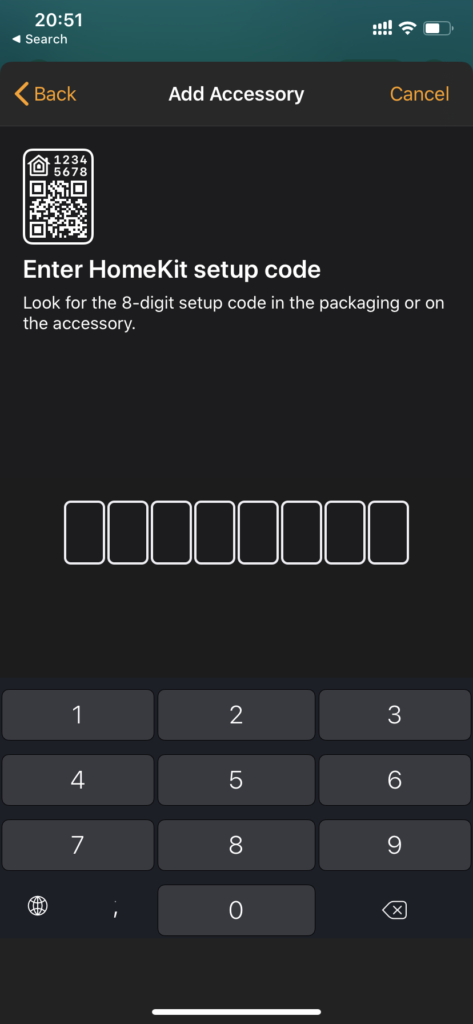
Click on Add Acessory, click on the Button “I Don’t Have a Code or Cannot Scan”. Put the PIN code from the Homekit2Mqtt bridge.


After that is complete, you should have a MQTT Bridge device listed on the Home App. Eventually, it will disappear and only display the devices connected to the bridge.